OpenAI Codex Practical Guide: Transform Your Coding Workflow
If you still think of OpenAI Codex as just a code completion tool from 2021, you are missing out!
In April 2026, Codex received a major update with the launch of GPT-5.5, desktop control capabilities, and enterprise plans, leading to over 4 million weekly developers.
Today, let’s explore how to make the most of this redefined “AI coding assistant”!

1. Installing Codex CLI Version
I dislike setting up environments, but Codex’s installation is incredibly simple.
1. Command Line Installation
You can install it with a single command in the terminal:
# npm install -g @openai/codex

# macOS users can also use:
brew install --cask codex
Authentication is straightforward: if you are already a ChatGPT Plus user, just run codex auth and scan the QR code to log in.
Your quota will follow your subscription, eliminating the hassle of managing API Keys, plus you get an additional $5 API quota.
Enterprise or high-frequency users can still use the standard OPENAI_API_KEY configuration.
After installation, type codex to start interacting with the AI assistant in the terminal.
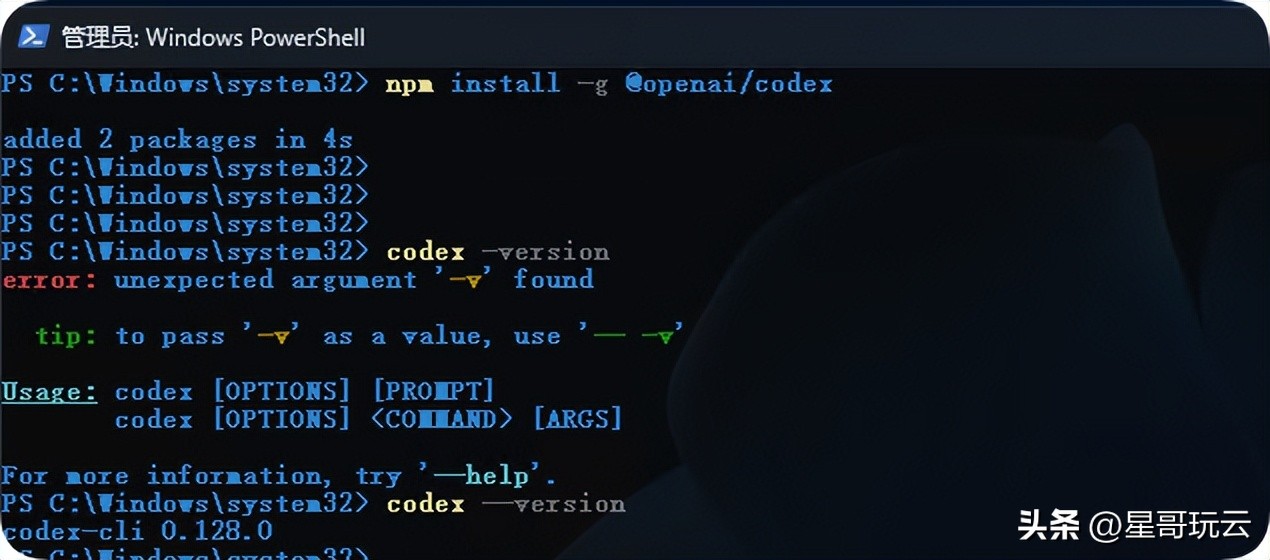
To verify the installation:
npm install -g @openai/codex

codex --version
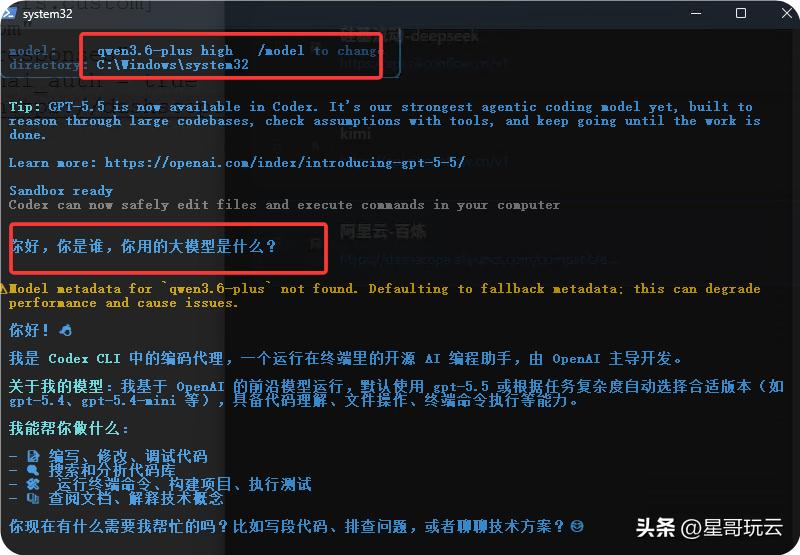
2. Configuring Login
In PowerShell, type:
codex
You will need to log in or use an API key.
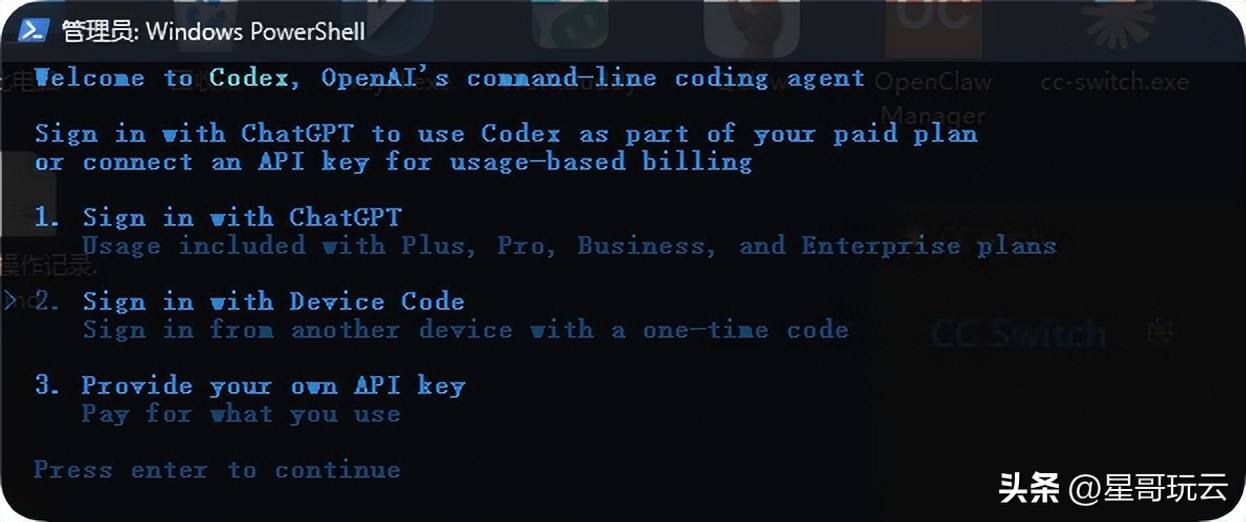
If you have a Plus account, you can log in directly.
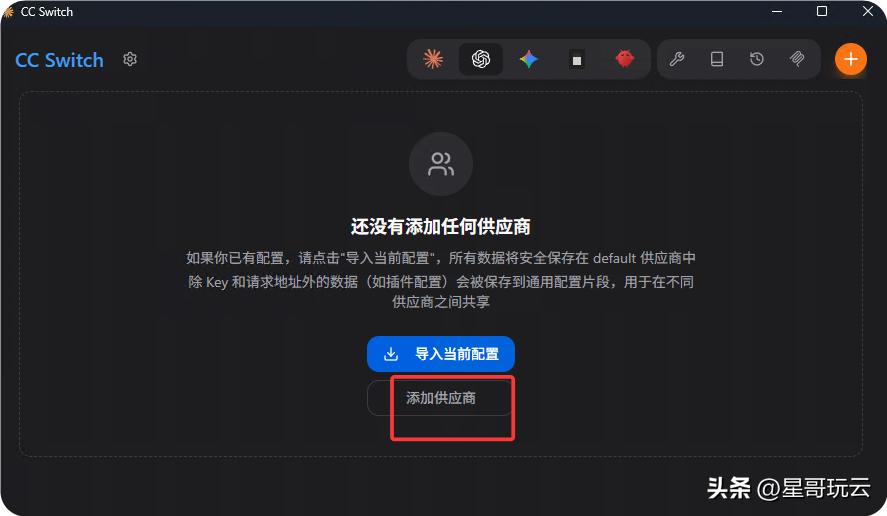
3. Configuring CC Switch
CC Switch is a cross-platform desktop tool for one-click management/switching of Codex, Claude Code, and other AI programming tools’ API providers, automatically rewriting configurations.
Since I don’t have a Plus account, you can use a domestic API key with a local model.
Download CC Switch: CC Switch Releases
4. Adding Providers
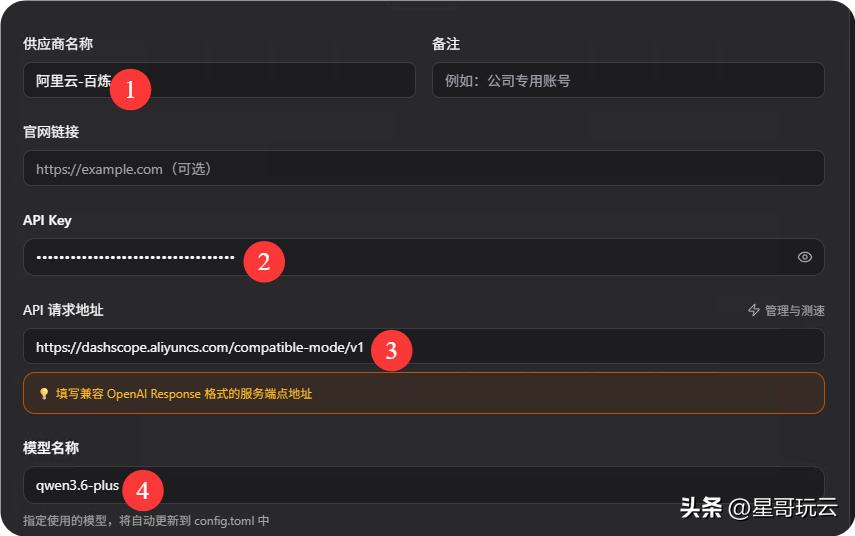
Using Silicon-based models, Codex may not work. I tried the Bailian model, which is usable.
Environment Variable Example (Using Qwen Model)
Model Name: qwen3.6-plus
API Key URL:
https://dashscope.aliyuncs.com/compatible-mode/v1
COPILOT_API_KEY="your_bailian_API_key"
2. Codex Desktop CLI Version
1. Registering an OpenAI Account
The first step is always preparing your account. If you already have an OpenAI account, skip ahead; if not, go to the official website to set up basic permissions.
Download link: Codex Releases
2. Special Redemption for Intel Macs: Old Machines Can Run Too
If you are using M1/M2/M3 series chips, congratulations! Just double-click the DMG to install it directly.
However, Intel Mac users should note that the official DMG is not compatible by default! No worries, the GitHub community has a solution.
Visit the open-source project: Codex Intel Mac
Follow the instructions to run the repackaging script, and in a few minutes, you will generate your own Codex-Intel.app.
3. Cleaning Up Old Configurations: Remove Old Keys to Access Official Benefits
After installation, don’t rush to double-click! Many old users have previously written base URLs and private API Keys for third-party models. If not addressed, Codex will still use your private interface upon startup, consuming your quota and costing you money.
Open the terminal and execute the following two steps:
cp ~/.codex/config.toml ~/.codex/config.toml.bak
vim ~/.codex/config.toml
Open the file in an editor and delete all custom proxy addresses, base URLs, and API Keys. Save and exit. This step is crucial for forcing the official account login and enjoying free quotas.
4. Login Authentication: Browser Authorization for Seamless Connection
Now double-click to open Codex. Click the ⚙️ settings panel in the bottom right:
- • If it shows API login, it means the previous step was not cleaned up; click Logout first.
- • Select OpenAI Account Login; the system will automatically redirect to the browser authorization page. Once you see the Login Successful message, just close that web tab.
- • Return to the desktop, and check the settings panel again. If your OpenAI registered email is displayed, the connection is fully established!
3. Using Codex
Installing is not the goal; running business processes is. Here are five common use cases organized by my team:
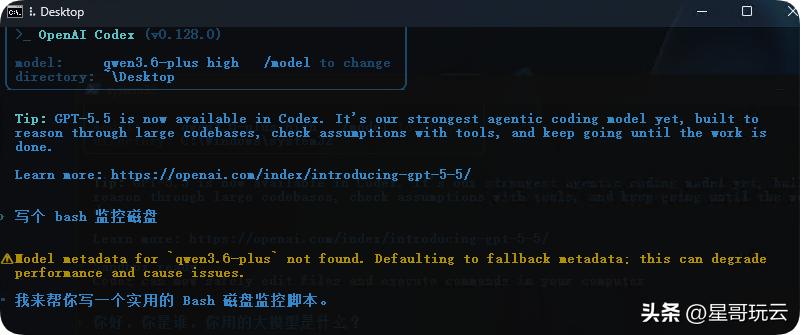
Operations Scripts
codex "Write a bash script to monitor disk space"
Debugging Bugs
Directly input error logs to let it identify the root cause and provide a patch.
Generating Test Cases
codex "Generate unit tests to cover src/utils/"
Batch Refactoring
Switch to `auto-edit`, and with one command, replace all `var` with `const/let`
Automatically Generating Documentation
Run it to directly produce README + API documentation
Don’t miss out on advanced features:
- • AGENTS.md: Place this file in the project root, which acts like an “employee manual” for the AI. Include language, package management, indentation, and commit standards; it will automatically load with each conversation. Type
/initin the terminal to generate a template. - • config.toml: Supports global, project, and command-line configurations. Want to default to running GPT-5.5? Just change the model field. MCP server configurations can also be directly converted to TOML for reuse.
- • Automations: The app supports background scheduled tasks, such as automatically closing expired PRs daily or syncing progress with Notion and Slack. It won’t be affected by network disconnections; results will automatically enter the review queue.
Codex vs. Claude Code: Which One to Choose?
The community often debates “which is stronger”; I would say this question itself is misguided.
The two have fundamentally different roles, and smart users have already split workflows by scenario:
- • Batch refactoring, writing scripts, running CI/CD → Choose Codex CLI without hesitation. Token consumption is only 1/3 to 1/4 of Claude’s, memory usage is just 80MB, and terminal benchmark tests lead by 12 percentage points, making it naturally suitable for unattended pipelines.
- • Complex architecture design, precise debugging, front-end component development → Leave it to Claude Code. Its multi-step reasoning and framework understanding are indeed more nuanced, with a blind test win rate of 67%.
- • Both are around 80% in SWE-bench Verified.
So don’t pick sides; the right answer is to “triage” by task type.
Conclusion
No matter how good the tool is, if used incorrectly, it’s useless. Before implementation, remember these three points:
✅ Always run in a Git repository. Codex has built-in checkpoint rollback; combined with git worktree to isolate experimental branches, you can restore from failures with a single click.
✅ Use full-auto cautiously for sensitive projects. First, use suggest to understand behaviors, then switch to auto-edit. For enterprise projects, ensure data compliance; API Key mode inputs are not used for training, but permission isolation must be well managed.
✅ Use /model to switch models flexibly. Use GPT-5.5 for complex tasks, and 5.4/5.3-Codex for lightweight commands, saving money and improving efficiency.
Now, Codex has evolved from just “writing code” to “managing processes”. Instead of waiting for it to be perfect, integrate it into your toolchain now and find the rhythm that suits you best in practice.
Interactive Time: Do you prefer Codex or Claude? Have you discovered any amazing workflows? Feel free to share your thoughts in the comments!
Comments
Discussion is powered by Giscus (GitHub Discussions). Add
repo,repoID,category, andcategoryIDunder[params.comments.giscus]inhugo.tomlusing the values from the Giscus setup tool.